
Valentine's Day Knit Hat Tutorial: Knitting a "Broken Heart Hat"
- Jan 21
- 2 min read
What a wonderful way to celebrate Valentine’s Day by knitting this charming hat! The pattern is easy to follow, making it perfect for beginners excited to learn and grow their knitting skills. It comes together quickly and is so much fun to make!
Pattern and Materials
You can find this pattern on the Yarnspirations website by searching Red Heart Knit Broken Hat and Fingerless Mittens, or by clicking the link below:

On their website, you can purchase all the materials you will need to finish this project. For the hat pattern, you will need 16” circular needles.
The Importance of a Gauge Swatch
Before you begin, you will need to make a small swatch following the pattern's gauge.
Cast On: Use size US 8 circular needles to cast on 17 stitches.
Work the Swatch: Use a stockinette stitch for 23 rows.
Measure: Bind off and measure. It should be 4” wide and approximately 4” long.

If your swatch is not 4” wide:
Under 4”: Go up a needle size.
Over 4”: Go down a needle size.
Instructions for the Valentine's Day Knit Hat
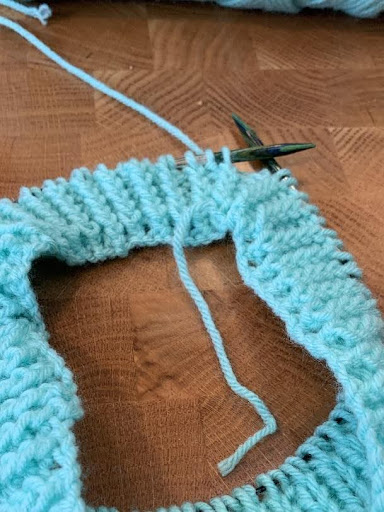
Getting Started
Once you find the right needle size, you're all set to start your hat! Join your work by knitting the first stitch to create a circle.


Creating Twisted Ribbing
This pattern features a lovely, twisted ribbing. To create this effect, you'll knit in the back loops only (K1tbl). Work the ribbing until it measures one and a half inches.

With yarn in back, insert your needle into the back loop; yarn over and pull the needle through the stitch.

Knitting the Body and Crown
Continue following your pattern, knitting until your hat measures 7 inches from the cast-on edge.

You're all set to start working on the crown! You'll be making some decreases by knitting two stitches together (k2tog).

At some point, you will need to change to double-point needles. I found this to be when I had 40 stitches left.

Finishing the Hat
Once you have 8 stitches left, you are ready to finish the hat.

Cut the yarn, leaving a long end. Thread a tapestry needle and transfer the live stitches onto the yarn end.

Finish your hat by pulling the yarn tight like a drawstring to close the hole.

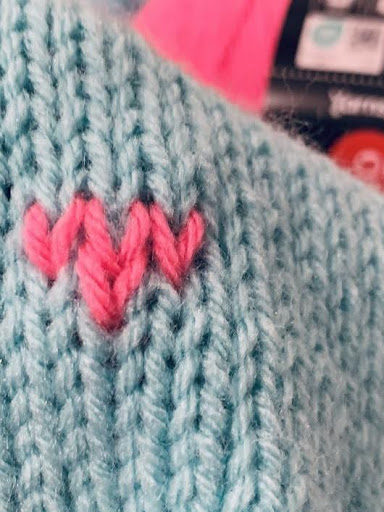
Adding the Heart: Duplicate Stitch Technique
Now you are ready to embroider the heart onto the hat using the Duplicate Stitch.
Placement
Locate the center of the front of your hat. I chose to start 10 rows above the ribbing to allow for a rolled brim!

Step-by-Step Duplicate Stitch
Always start at the bottom of the chart.
Row 1:


Row 2:


Completing the Design
Continue in this manner, following the chart.
Make sure to weave in all yarn ends inside the hat.


Comments