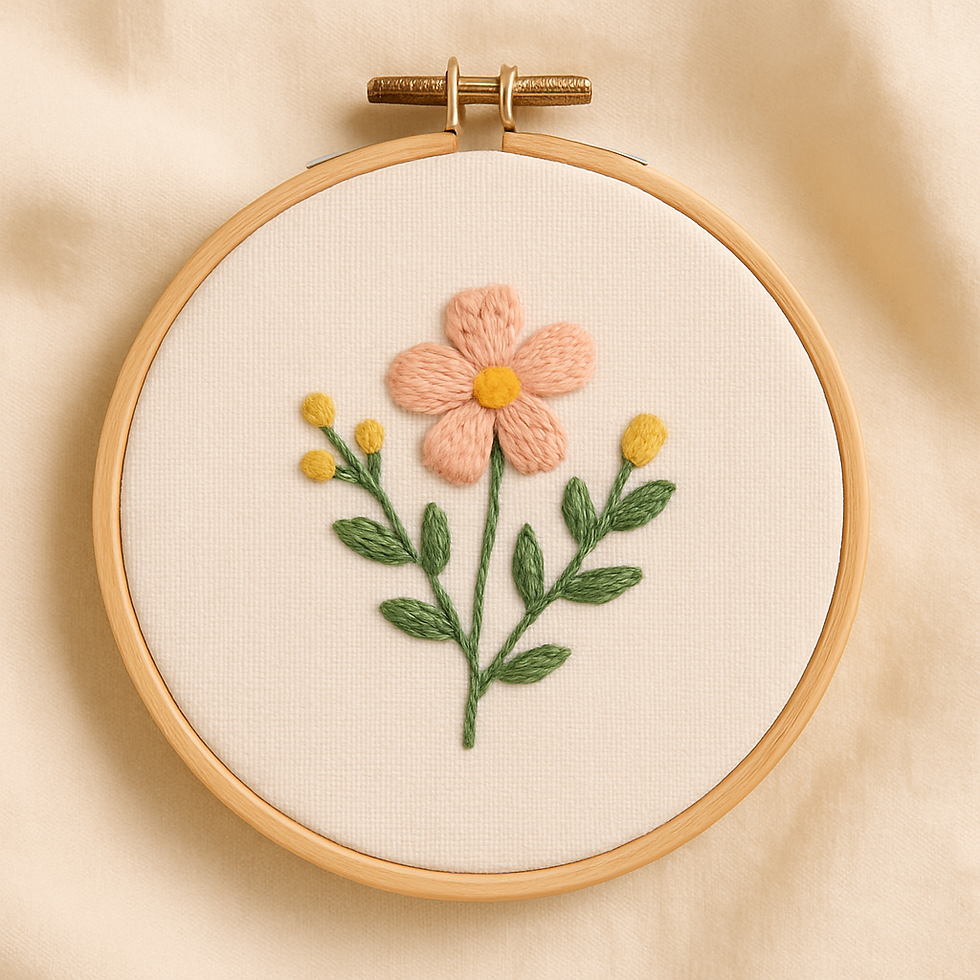
Hand Embroidery on a Budget: A Beginner’s Guide to Getting Started for Less
- Happy Sheep

- Aug 5, 2025
- 3 min read
Introduction: Why Embroidery is the Perfect Budget-Friendly Craft
Embroidery is a beautiful, relaxing, and creative hobby — and the best part? You don’t need to spend much to get started. With a few basic supplies (many of which you might already have at home), you can dive into hand embroidery without breaking the bank. Whether you're exploring a new creative outlet or looking for an affordable way to unwind, this beginner’s guide will show you how to start embroidering with minimal cost.

1. What You Need to Get Started (and Where to Find It for Less)
Embroidery Hoop: You can find wooden or plastic hoops at thrift stores or second-hand craft shops for a fraction of the price. Big-box craft stores like Michael’s also carry them for under $5.
Embroidery Floss: DMC floss — a favorite among embroiderers — often costs less than $1 per skein. Choose a few colors to start; many beginner projects only require two or three shades.
Needles & Scissors: Embroidery needles and a pair of small scissors are also easy to find second-hand or in inexpensive starter kits.
Fabric: This is often the biggest expense, but it doesn’t have to be. Look around your home:
Old cotton or linen pillowcases
Worn-out sheets with a tear or stain
Dish towels or clothing you no longer wear As long as the fabric is smooth and lightweight (cotton or linen work best), it’s perfect for practice. For example, I recently used a 10” square from a bed sheet that had a hole in it — a great way to repurpose something instead of throwing it away.
2. Keep It Simple: Using Limited Materials to Save Money
You don’t need a rainbow of thread or fancy fabric to create beautiful embroidery. In fact, using the same few colors across multiple designs not only saves money but creates a cohesive look. In my tutorials, I stick to a simple color palette to help beginners feel confident and to keep costs low.
3. Step-by-Step: How to Start Your First Hand Embroidery Project
Prepare Your Fabric: Cut your fabric to the size you want (10” squares are great to start). Iron it flat if needed.
Secure the Fabric in a Hoop: Loosen the hoop, place the fabric in between, then tighten it so the fabric is taut like a drum.
Thread Your Needle: Cut a length of floss (around 18–24 inches), separate the number of strands you need (usually 2–3), and thread your needle.
Start Stitching: Begin with simple stitches like backstitch, running stitch, and French knots. There are many free patterns and tutorials online, and many are designed specifically with beginners in mind.
4. Final Tips for Affordable Embroidery Success
Start small: Choose simple patterns or motifs that don’t require a lot of detail or color.
Use what you have: Before buying new supplies, check drawers, sewing kits, or old clothing.
Practice first: See if you enjoy the craft before investing in premium materials.
Look for free resources: Many embroidery patterns and video tutorials are available online for free.
Affordable Creativity is Just a Stitch Away
Embroidery doesn’t have to be expensive. With a little creativity and a frugal mindset, you can get started today using materials you already have or can find inexpensively. Whether you’re repurposing a worn-out bedsheet or stitching with a few strands of floss, embroidery is a joyful, accessible craft that anyone can enjoy, no matter your budget.


Comments